Inbound Webhooks
Inbound webhooks let an external system wake a Gobii by sending a POST request to a secret-bearing webhook URL. Use them when work should start from an event instead of a person manually opening chat.
Examples include form submissions, support tickets, billing events, meeting summaries, CRM updates, project-management events, or any internal system that can send a webhook.
When To Use Them
Use inbound webhooks when you want a Gobii to:
- React when another system says something happened.
- Turn a form submission into research, routing, or follow-up.
- Draft a response when a support ticket is created.
- Summarize a meeting transcript after another tool finishes processing it.
- Enrich or validate a record when a CRM or spreadsheet changes.
- Start internal follow-up without a person copying context into chat.
If a human should decide when the work starts, use web chat instead. Use inbound webhooks when the triggering event is reliable and the Gobii has clear instructions for what to do next.
Create An Inbound Webhook
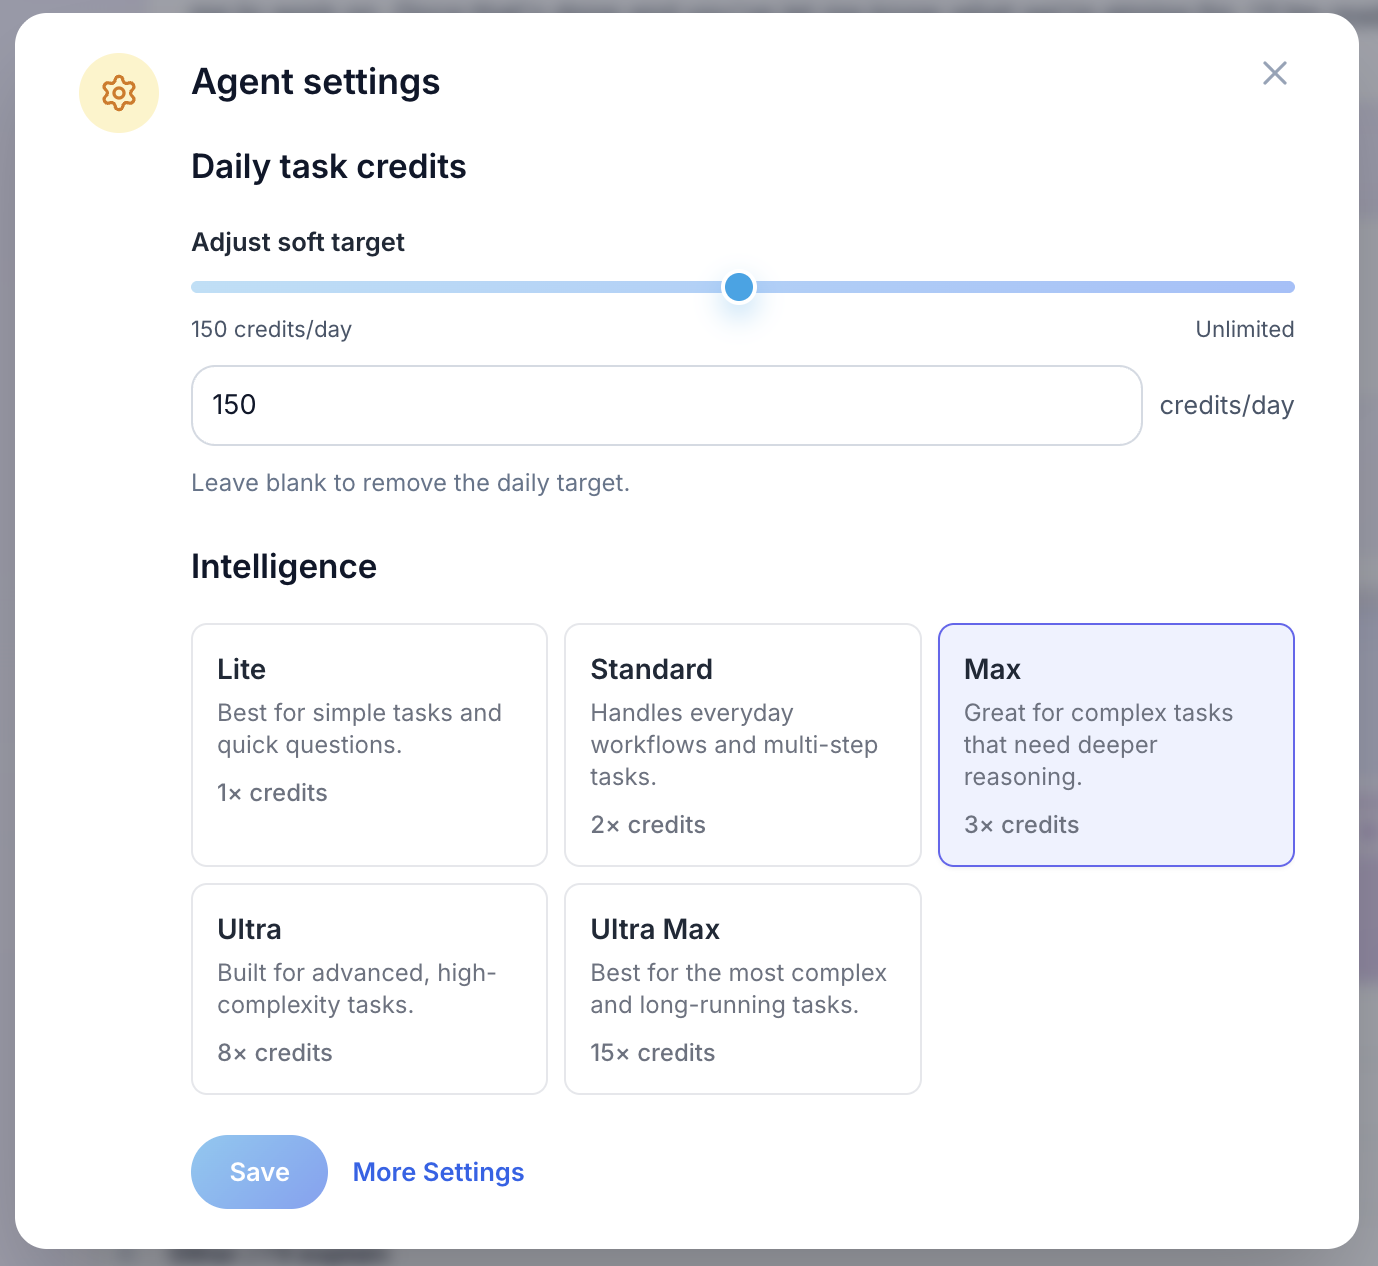
Open the Gobii you want to trigger, then click the settings gear in the top toolbar.

In the quick settings panel, click More Settings.
On the full settings page, open Integrations.
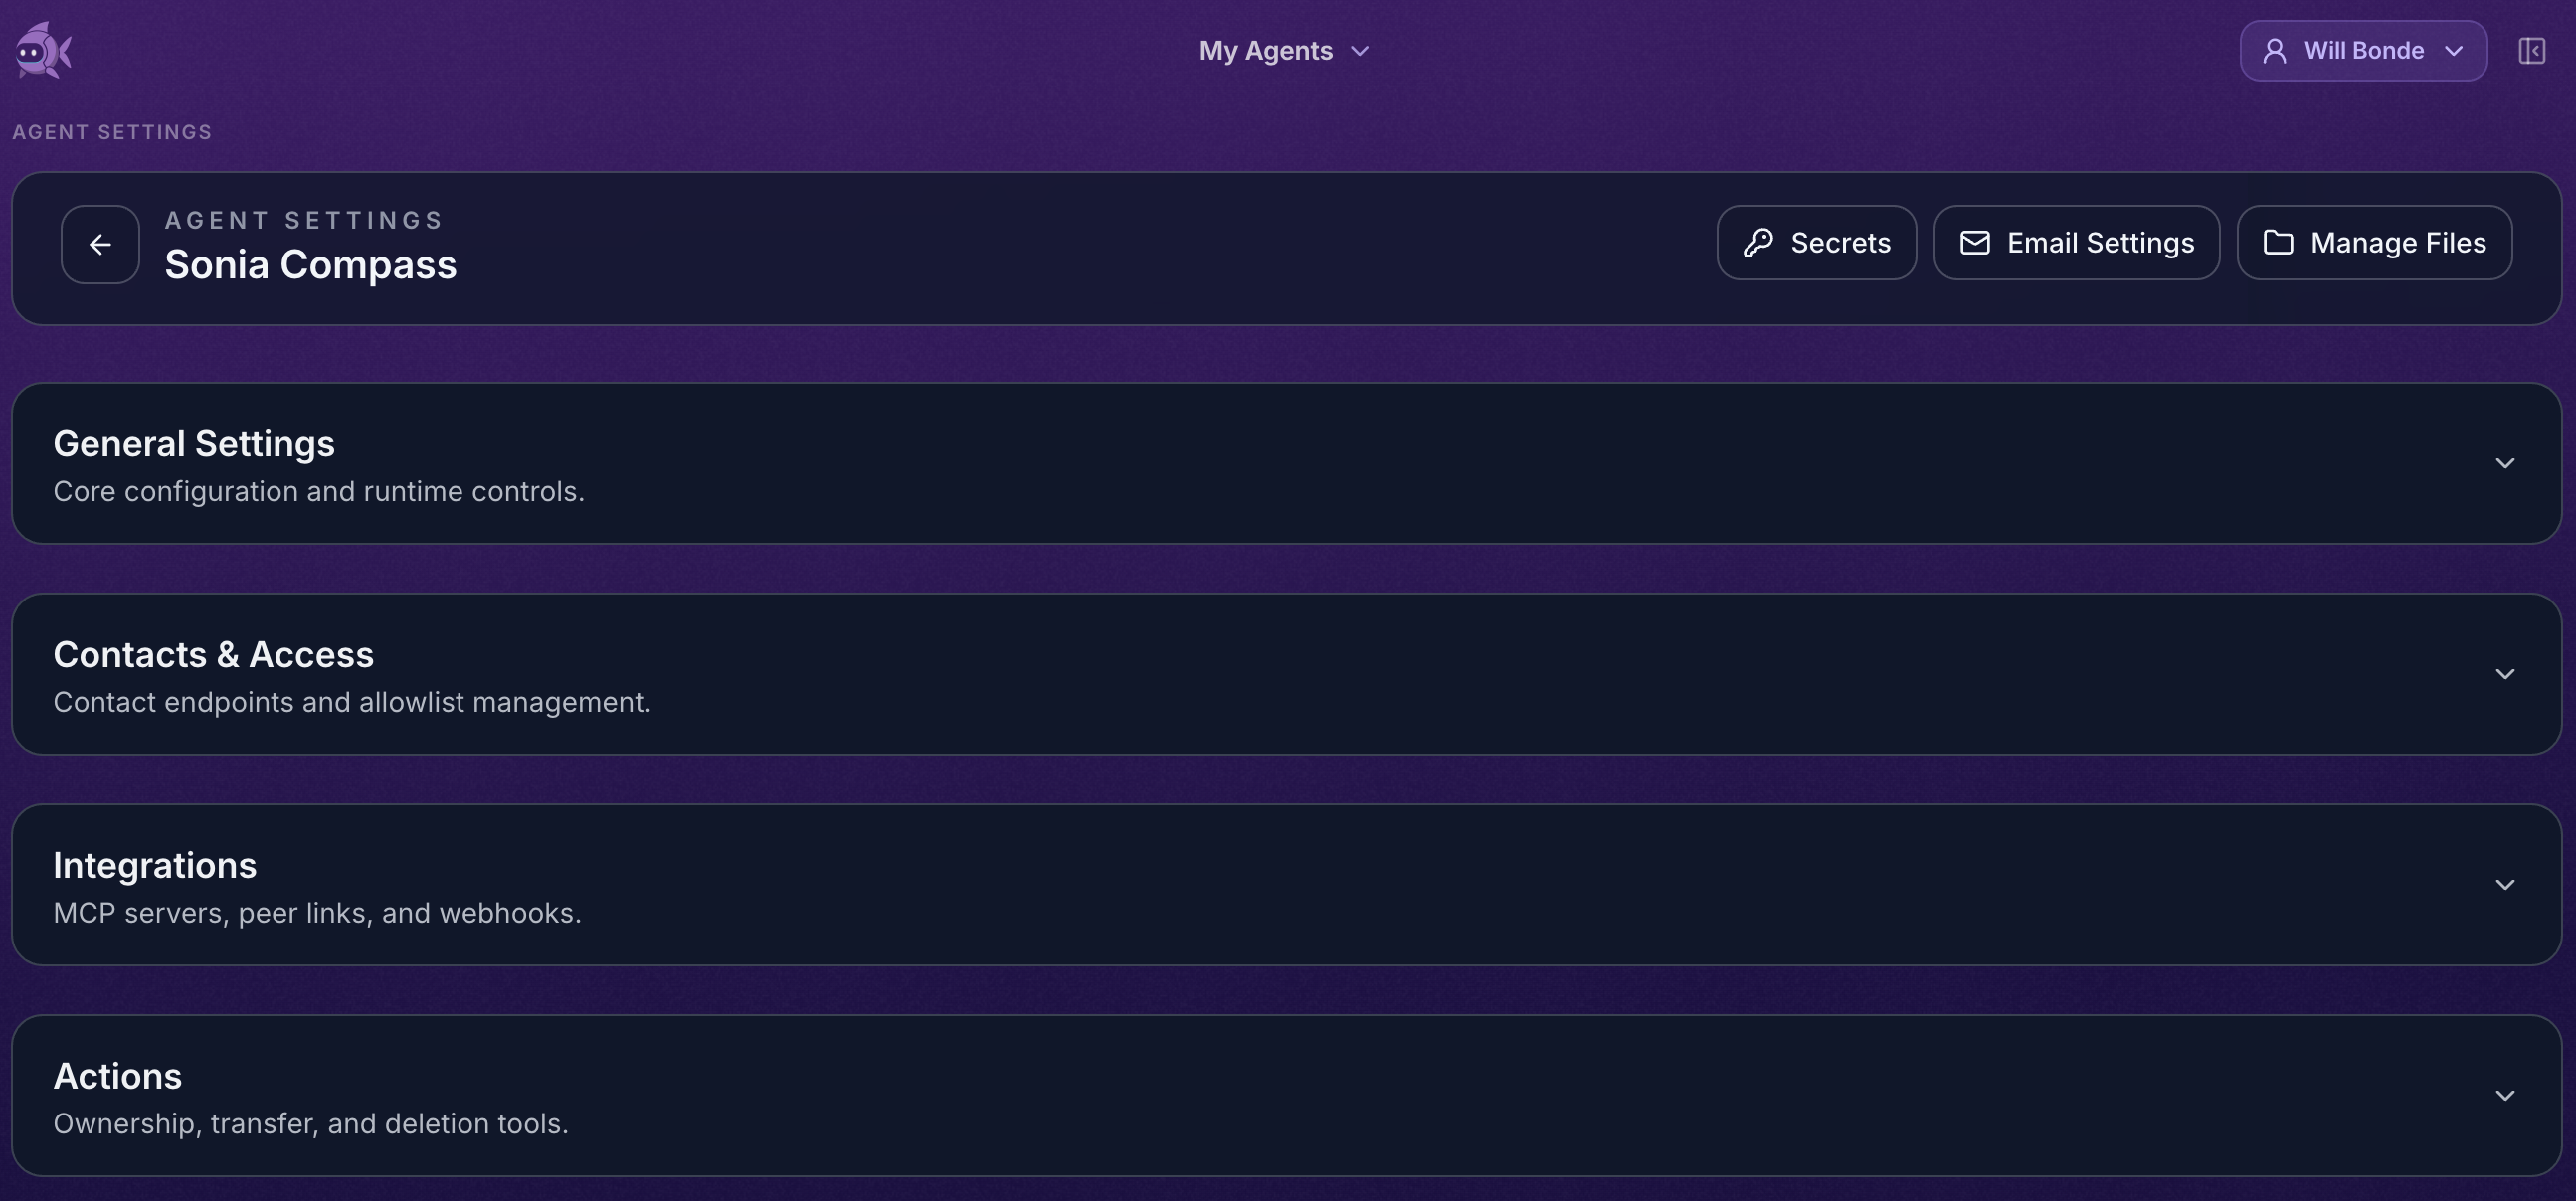
In the expanded Integrations section, find Inbound Webhooks.

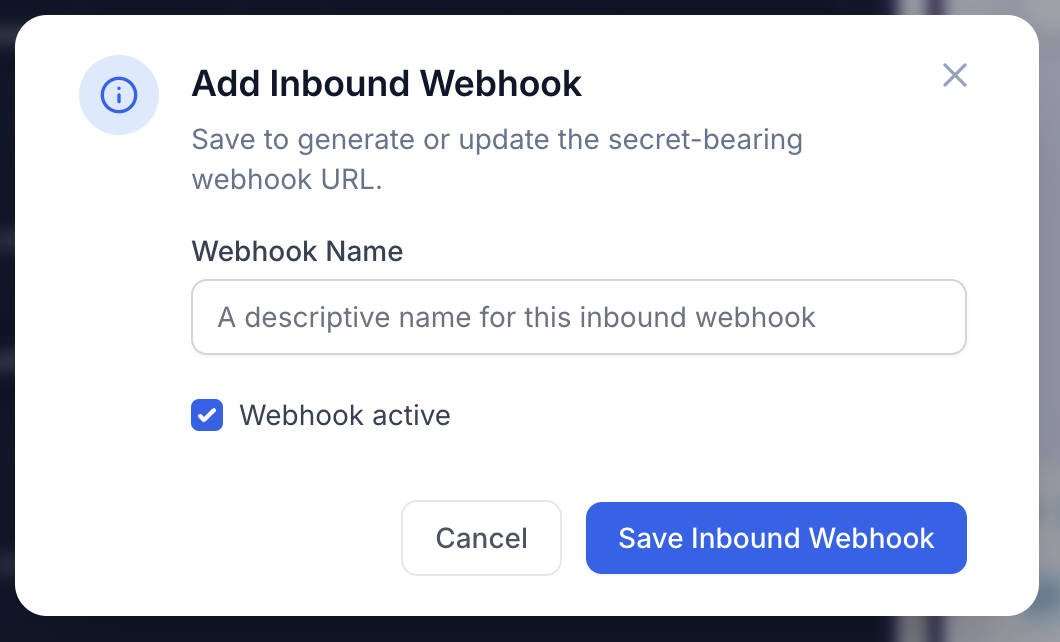
Click Add Inbound Webhook, then give the webhook a descriptive name.
After you click Save Inbound Webhook, the webhook is staged but not fully saved yet. Click Save Changes at the bottom of the settings page to generate the webhook URL.

After Save Changes completes, the webhook is active immediately and the generated URL appears in the table.
Then:
- Find Inbound Webhooks.
- Click Add Inbound Webhook.
- Give the webhook a descriptive name.
- Leave Webhook active enabled unless you are staging it for later.
- Click Save Inbound Webhook.
- Click Save Changes on the settings page.
- Copy the generated webhook URL.
- Paste that URL into the external system that should trigger the Gobii.
The webhook URL includes a secret token and is available only after Save Changes completes. Once it appears, it is active immediately. Treat the full URL like a credential.
Send A Test Event
After copying the URL, send a small test event from a system you control.
curl -X POST "$GOBII_WEBHOOK_URL" \
  -H "Content-Type: application/json" \
  -d '{
    "event": "lead.created",
    "source": "demo-form",
    "name": "Jordan Lee",
    "company": "Northstar Robotics",
    "notes": "Asked for pricing and implementation timing."
  }'
If Gobii accepts the event, the response includes accepted: true and a message ID. The event appears in the Gobii timeline as an inbound webhook event, and the Gobii is queued to process it.
Give The Gobii Instructions
The webhook delivers the event. The Gobii's instructions determine what happens next.
Good instructions include:
- Which events matter.
- What fields to inspect.
- What the Gobii should do first.
- What requires approval.
- Where summaries, drafts, files, or updates should go.
Examples:
When the
lead.createdwebhook fires, research the company, summarize fit, and draft a first-touch email. Ask before sending anything externally.
When a support ticket webhook arrives, summarize the customer issue, check recent context, and draft a reply for review.
When a meeting summary webhook arrives, extract action items and prepare follow-up notes. Do not update external systems until I approve.
Payloads And Attachments
Inbound webhooks accept common POST payloads:
- JSON bodies.
- Form-encoded bodies.
- Multipart form data.
- Plain text bodies.
- Uploaded files when the sending system uses multipart form data.
The payload does not need to follow a strict Gobii-specific schema. The Gobii will try to understand the structure it receives. For more predictable behavior, keep payloads concise and include the facts the Gobii needs, stable IDs or URLs back to the source system, and enough context to act safely.
If the sending system uses an unusual structure, tell the Gobii how to interpret it in chat or in the Gobii's standing instructions. For example, you can explain which field contains the customer email, which status values matter, or which event types should be ignored.
Avoid sending secrets, private keys, or unnecessary personal data.
Manage Webhooks
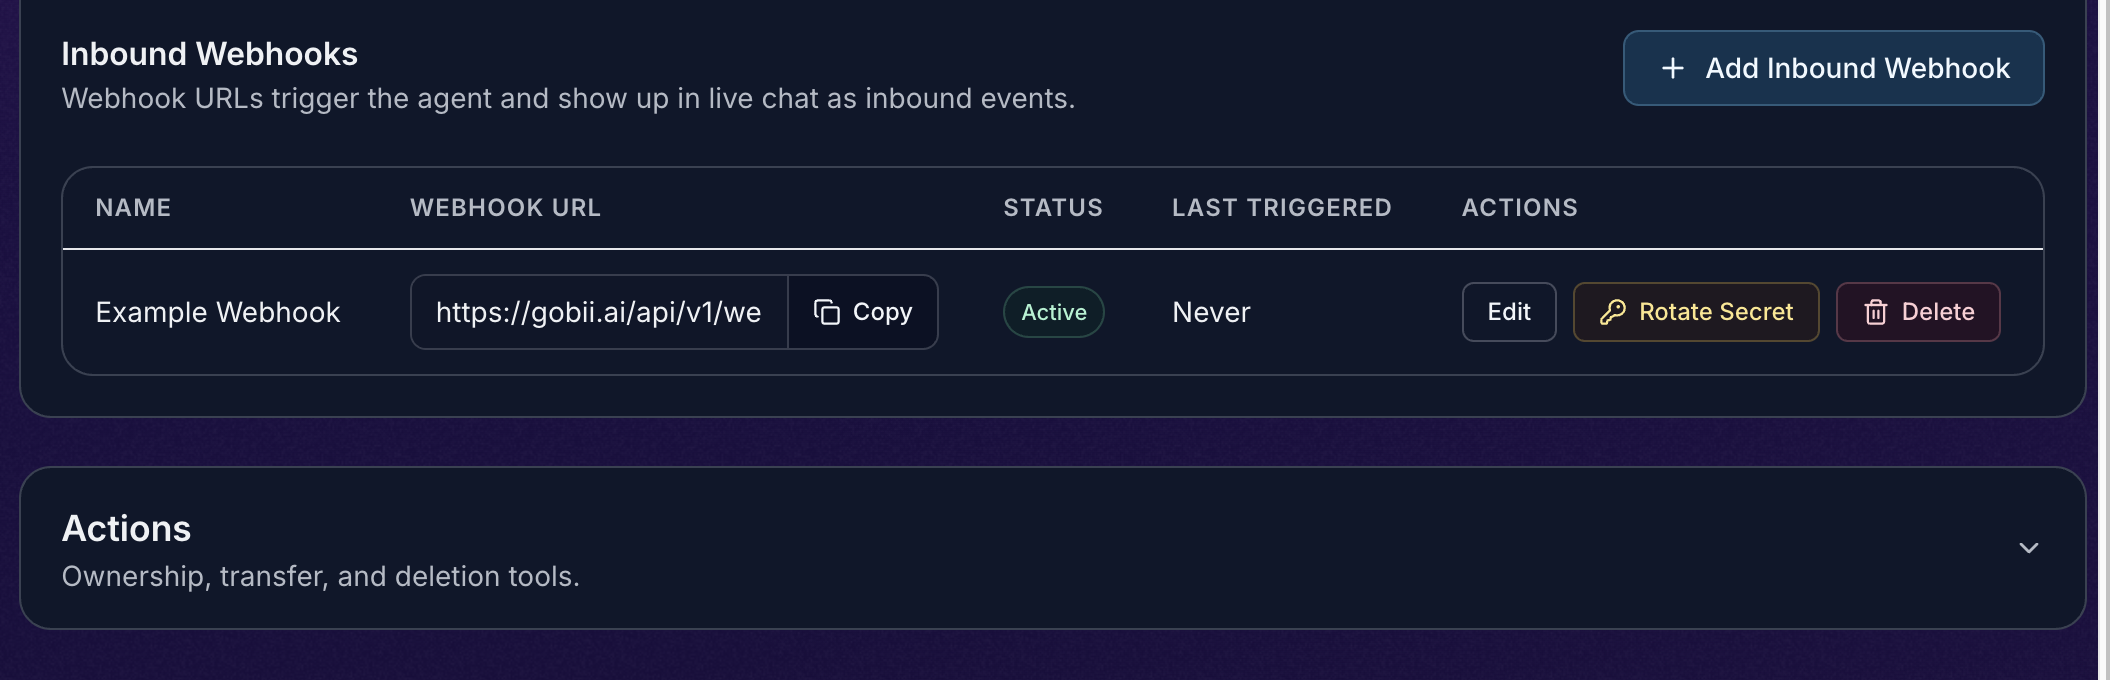
Each inbound webhook shows:
- The webhook name.
- The generated webhook URL.
- Whether it is active or inactive.
- When it was last triggered.
- Actions to copy, edit, rotate the secret, or delete it.
Use Rotate Secret if the URL may have been exposed. Rotation changes the secret in the webhook URL, so existing callers will need the new URL.
Use Delete when the external trigger should no longer reach the Gobii.
Safety Boundaries
Inbound webhooks can start work automatically, so make the next step explicit.
- Start with low-risk draft or summary behavior.
- Require approval before posting, emailing, purchasing, deleting, or changing external accounts.
- Validate webhook senders in your own system before forwarding sensitive events.
- Keep the URL private.
- Rotate the secret if the URL is pasted somewhere unsafe.
- Use a separate webhook for each major event source so it is easier to audit and revoke.
Troubleshooting
The external system gets 403 or Invalid webhook secret.
Copy the full URL again. The t= token is part of the secret-bearing URL.
The external system gets 409 or says the webhook is inactive.
Open the Gobii settings and make sure the inbound webhook and the Gobii are active.
The Gobii did not act on the event. Check the webhook's Last Triggered value and the Gobii timeline. If the event arrived, tighten the Gobii's instructions for what it should do with that payload.
The payload is hard for the Gobii to use. Add a short explanation in chat or standing instructions that tells the Gobii how to interpret the payload. If you control the sender, clearer JSON with named fields can make behavior more predictable, but the webhook does not require a special schema.
The URL may have leaked. Rotate the inbound webhook secret, update the external system with the new URL, and remove the old URL anywhere it was stored.